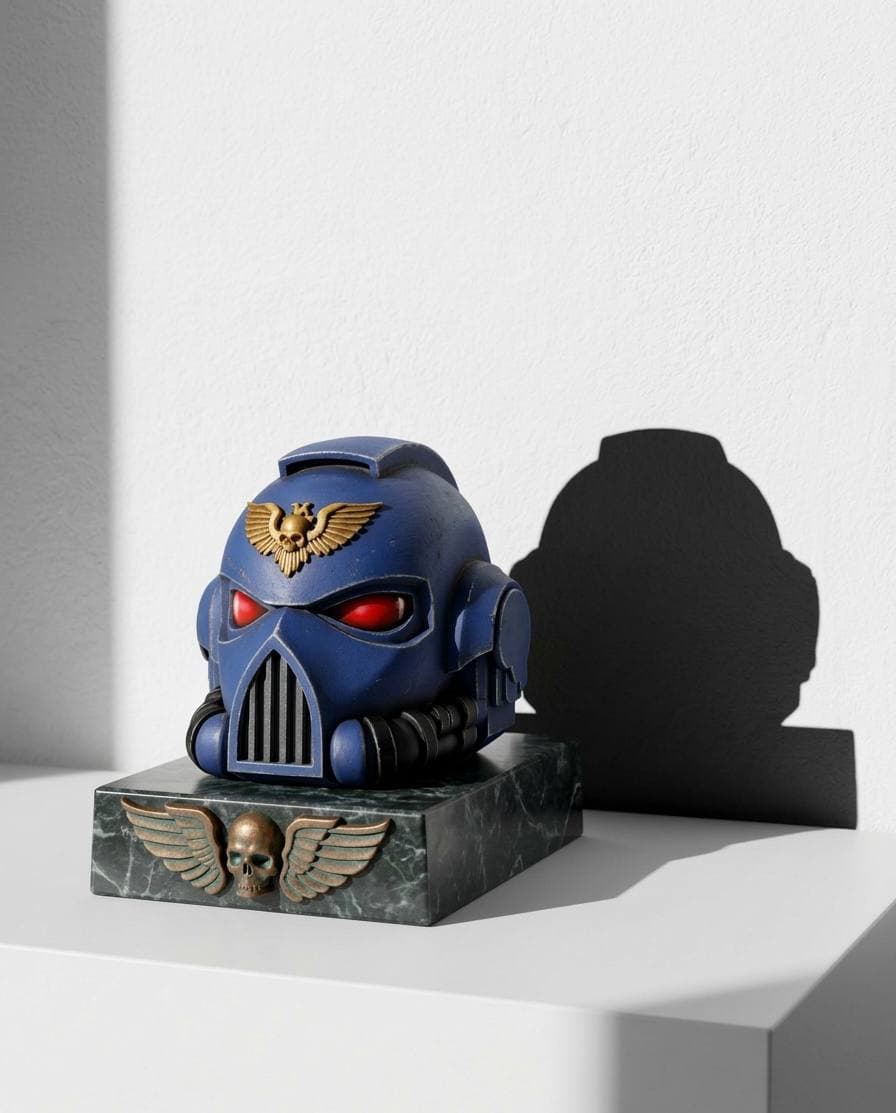
Assembling Multi-Part Prints: Glues, Pins and Hidden Seams
Why large 3D prints arrive in pieces, which glue actually holds PLA, PETG, ABS and resin, how pins keep parts aligned and how a seam vanishes under filler.

Anything bigger than a printer's build plate comes off the machine as several parts, and plenty of smaller models are split on purpose because it gives a cleaner result. Joining those parts well is a craft in itself. Here is how we do it in the studio: which glue suits which plastic, how pins keep the alignment honest and how a seam disappears completely.
Why prints get split in the first place
- Build volume. A 1:1 helmet, a 40 cm sword or a tall vase is simply larger than most printers can print in one go. Our post on maximum print size explains the limits.
- Orientation. Every part can be printed in the direction that needs the fewest supports and gives the best surface. A helmet printed in two halves has almost no support scarring inside.
- Colour. Separate parts can be printed in different filaments without a multi-colour printer, then assembled.
- Detail. Small pieces such as a sword, a staff or a cape print sharper on their own than as a thin spike sticking out of a large body.
Which glue for which plastic
There is no universal glue for 3D prints, and the wrong one is the most common reason a piece falls apart in the post.
| Material | Best glue | Notes |
|---|---|---|
| PLA | Cyanoacrylate (superglue), medium viscosity | Sets in seconds, sand the faces first for a better grip |
| PETG | Superglue with activator, or two-part epoxy | Slippery surface, roughen it with 220 grit paper |
| ABS / ASA | Acetone (solvent welding) or ABS slurry | Melts the faces together into one piece, the strongest joint |
| Resin (SLA) | Superglue, or a drop of liquid resin cured with a UV torch | Resin-on-resin gives an invisible joint |
| TPU (flexible) | Flexible superglue or contact adhesive | Standard superglue turns brittle and cracks at the joint |
A few rules that apply to all of them. Hot glue is not for finished models: it is bulky, soft and lets go in summer heat. Two-part epoxy is the choice for anything structural or where the faces do not meet perfectly, because it fills gaps while it cures. And superglue "blooms", leaving a white haze around the joint, so keep it away from glossy black or transparent parts unless you plan to paint over.
Pins and keys: alignment before glue
Glue holds parts together, but it does not line them up. That is the job of pins.
- Printed keys. A good designer builds pegs and sockets into the split faces, so the halves can only go together one way.
- Metal pins. For heavy parts we drill matching 2 or 3 mm holes and insert brass rod. A pinned joint survives being knocked off a shelf; an unpinned one usually does not.
- Improvised pins. A piece of filament or a toothpick in a drilled hole works well for small figurines.
- Magnets. When a part should come off again, such as a helmet visor, a removable weapon or the front of a book nook, we sink neodymium magnets into both faces.
Always dry-fit first. Assemble the whole model without glue, check that every seam closes, then glue one joint at a time. Masking tape and rubber bands make excellent clamps for odd shapes.
Making the seam disappear
A visible line where two parts meet is what separates a nice print from a professional one. The fix has four steps.
- Fill. Run a bead of superglue into the seam and dust it with baking soda, which sets it instantly and hard. For wider gaps, use two-part modelling putty.
- Sand. Work through 220, 400 and 800 grit paper until you cannot feel the seam with a fingernail.
- Prime. A coat of filler primer shows any remaining line. Sand again, prime again.
- Paint. Once painted, the seam is gone for good.
This only works fully on parts that will be painted. On raw filament, especially marble or silk, the seam can be made tidy but not invisible, so we place splits along natural edges, panel lines and corners where the eye expects a line anyway. Our guide to removing layer lines covers the same sanding routine in more depth.
What we do before shipping
Fantasy Lab 3D ships multi-part models assembled by default: pinned, glued, cured and, if you ordered a painted finish, with the seams filled and invisible. Cosplay pieces are the exception. A large helmet or armour set often travels flat-packed with the pins and magnets already fitted, so it survives the courier and packs into a suitcase for a convention. The Arthas helmet we printed at 1:1 scale was built exactly this way. Tell us how you plan to use the model and we will suggest the right approach.
Ready to order?
Have a large model that needs to be printed in parts, or a set of prints you would like assembled and finished? Send the file through the contact form and tell us the final size and finish you want. You can also DM us on Instagram at @fantasylab3d.almaty for a quick answer.
- #assembly
- #glue
- #post-processing
- #cosplay
- #large prints
Want this printed?
Send us a link, a file or a rough idea. We reply with a quote and a realistic timeline.